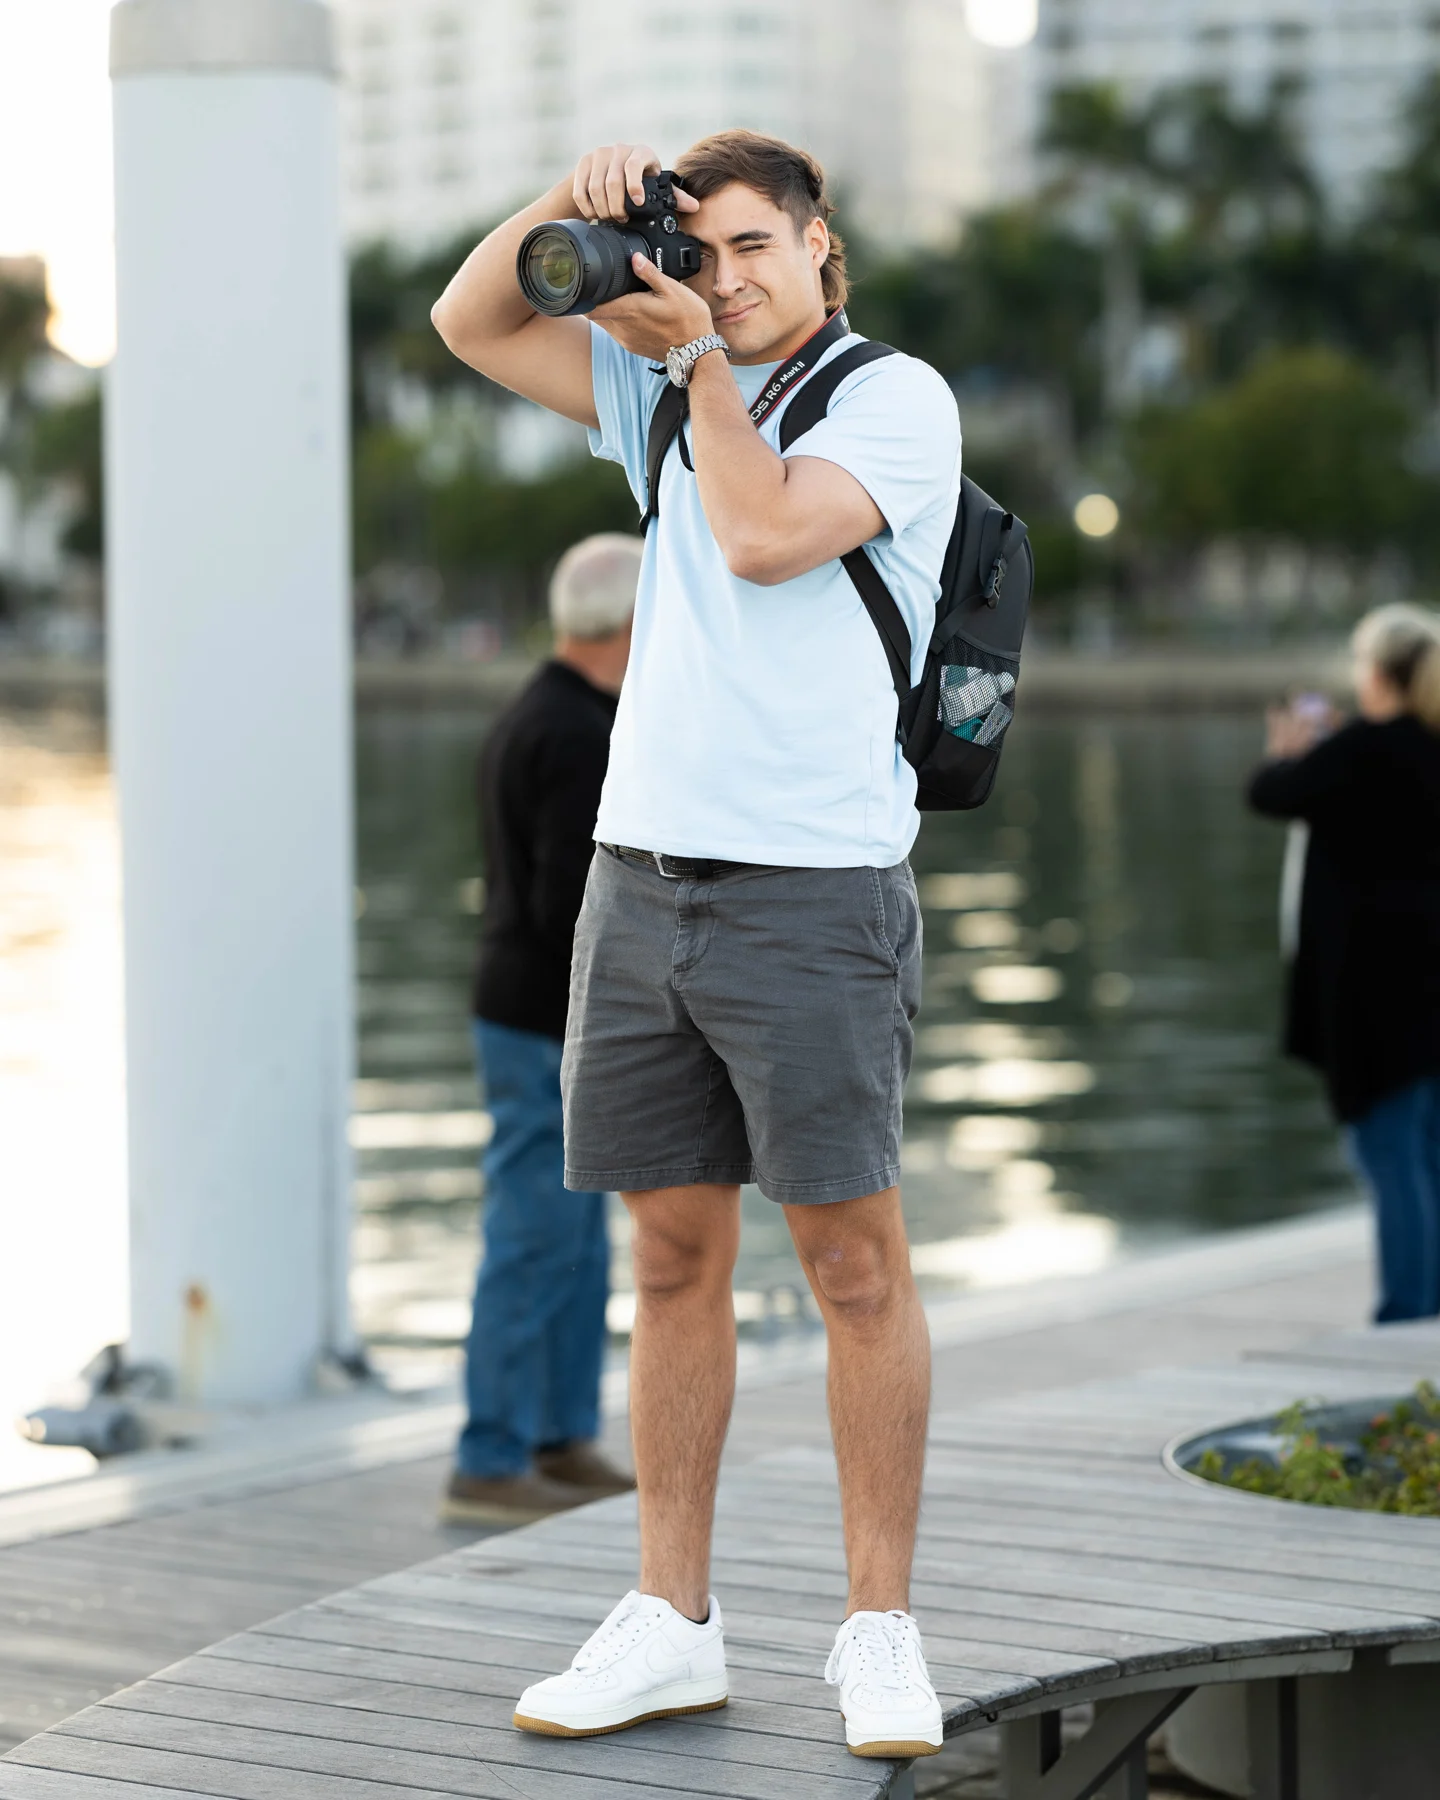
A content day works best when the photos and videos have a job before the camera comes out. A founder may need a website portrait, a short introduction, answers to common questions and everyday footage for future posts. Those are different needs, even when they can be captured in one session.
1. Plan around the next decision.
Write down what someone needs to understand before taking the next step with you. A visitor comparing photographers needs to see a portfolio and understand the process. A person discovering a new business may need a simple explanation of what it does. Let those questions shape the shoot.
- Discovery: what makes someone stop and pay attention?
- Understanding: what do you do, who is it for and what happens next?
- Confidence: what real work, process or experience can you show?
- Action: where should an interested person go?
2. Build a small, flexible shot list.
Capture a range that you can use in different places. A website banner needs space for text. A profile picture needs a clear face. A process article benefits from a photograph of the work itself.
| Capture | Useful placements | What to watch |
|---|---|---|
| Clean portrait | About page, speaker bio, profile | Clear expression and space around the subject |
| Working photograph | Service page, process article, social post | Show the actual task, tools or environment |
| Conversation or event | Community story, recap, networking guide | Context and a readable composition |
| Short answers on video | Educational clips, FAQs, introduction | One useful idea per answer |
| Details and B-roll | Reels, edits, behind-the-scenes stories | Several angles and clean beginning/end frames |
3. Give each photo a reason to be there.
You do not need to use every good picture in the first carousel. Choose the images that support that post, and save other outfits, environments and moments for future stories. A photograph can be strong without being right for every page.
Keep a simple asset record: filename, subject, orientation, suggested use and where it has already appeared. That makes it easier to keep a family of websites visually connected while giving each one its own character.
Posed photographs also have a place. A deliberate portrait can communicate professionalism; a candid frame can show interaction. Choose according to the message and the person's comfort. Neither format guarantees better engagement.
4. Turn the session into a publishing sequence.
Group the material into themes rather than publishing it in the order it was filmed. An introduction can lead to a process explanation, followed by an answer to a common objection and a behind-the-scenes post. Each piece should still make sense on its own.
- Select the clearest examples and remove near-duplicates.
- Pair each asset with one topic and intended audience.
- Adapt the framing and length for the placement.
- Review names, claims, captions and links before publishing.
- Record what went live so the next batch adds variety.
5. Review what the content actually does.
Look at the result that matches the purpose. A useful article may lead people to explore related pages. A service post may lead to an inquiry. A personal story may start relevant conversations. Use those signals to decide what to repeat, improve or stop.
For more on improving existing pages, read when fresh content helps SEO. For help planning and producing business content, explore ARVMarketing's services.
How many posts should come from one session?
There is no fixed number. Count the useful, distinct ideas you captured. A shorter batch of clear posts is easier to use than stretching similar shots into repetitive content.
Can the same photo appear on more than one website?
Yes, when it is relevant. A shared founder portrait can help connect related brands. Vary hero images, supporting photography and context so each site has a distinct purpose and appearance.